Whether you are a professional handyman or a DIY newbie, you have likely come across one of my favourite workshop tools – the portable table saw.
Table saws have become indispensable in our woodworking projects helping us to cut boards cleanly and precisely. With the rise in popularity of professional and amateur woodworking projects, it is no surprise that the table saw continues to be one of the most popular tools of the 2020s.
Full-size table saws often come equipped with an in-built platform that helps you in supporting your workpiece and ensures a smooth cut. Because of the size of a table saw, both professional and amateur woodworkers may struggle to house the larger models.
There are so many great portable table saws on the market, and many come with additional features that help them stand out from the crowd. While these portable models are excellent, not all offer users the space needed for more significant woodworking projects.
If you have found your way here, you are likely looking to learn how to build a portable table saw workstation. A workstation attached to your portable table saw will increase your workspace and allow you additional room to store your tools and materials.
Learning how to build a portable table saw stand is an intelligent decision. The extension to your workbench will allow you to work with longer boards whilst maintaining stability, so you can take on those more significant projects you’ve always dreamed of tackling.
Contents
What Materials will I need?
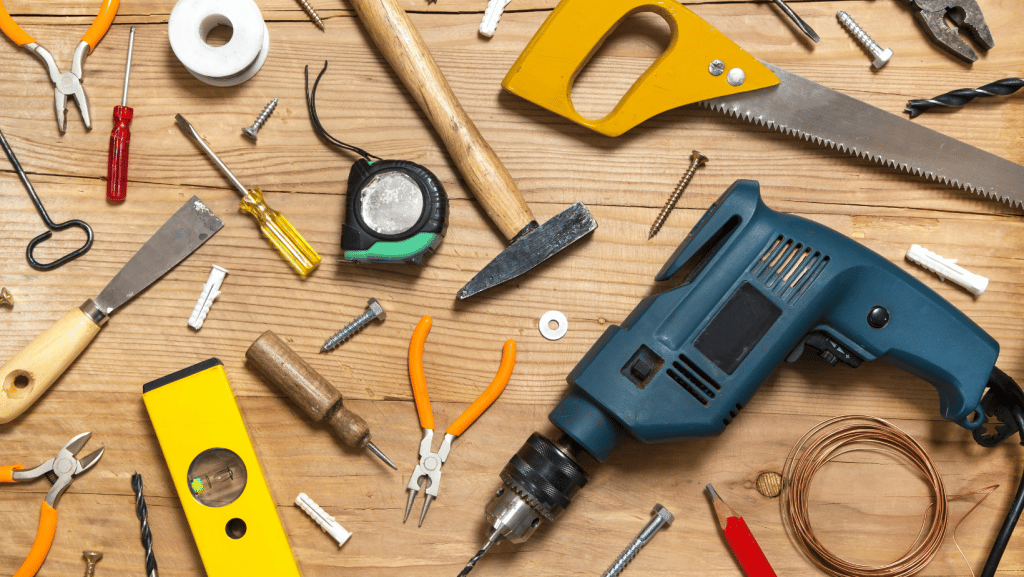
The first step in building a portable table saw table is to consider the materials you will need to get the job done.
Choosing your materials carefully now will help you build the best table saw you can. You will need the following:
- Portable table saw. (You will be building your workstation with it!)
- Measuring tape
- Drill
- Nails
- Screws
- Hammer/nail gun
- Sander
- Sandpaper
- Jigsaw
- Polyurethane: (To protect the surfaces of your workstation)
- Wood glue
- 1 x good quality wood board
- 4 x plywood sheets
Choose the Best Wood

Our top tip for making sure that you are building the best portable table saw stand is to ensure that you choose the right type of wood to use. Whether you are building a simple saw stand or something a little fancier, poor-quality wood will always lead to a workstation that needs to be more durable.
Indeed, the best woods you can use for your workstation are often the most expensive. Their higher price often proves to be a good investment. With good quality wood, your table saw stand would last you a lifetime.
We recommend a good quality oak for this project. Good oak boards measuring 2 inches x 8 inches x 8 feet will be ideal. You should also find some quality lumber for the table support and the legs, as you need these to be strong, sturdy, and durable.
Static or Portable?

When thinking about how to build a portable table saw workstation, you should decide if you want your workstation to be static or fixed.
A static workstation is fixed to your portable table saw and gives you a permanent store for your tools. A static workstation is a good option if you are always working in the same place, for example, a home workshop.
However, a static workstation is not flexible and cannot be easily moved around. If you intend to keep your portable table saw genuinely portable, consider a portable workstation.
As the name suggests, a portable workstation allows you to pack up quickly as it is not permanently fixed to the table. This type of workstation is compact and lightweight and built without fasteners.
Choosing a static or portable workstation is an essential step, as the type of workstation you are building will help you determine the measurements and design of your workstation moving forward.
Measure your Workstation
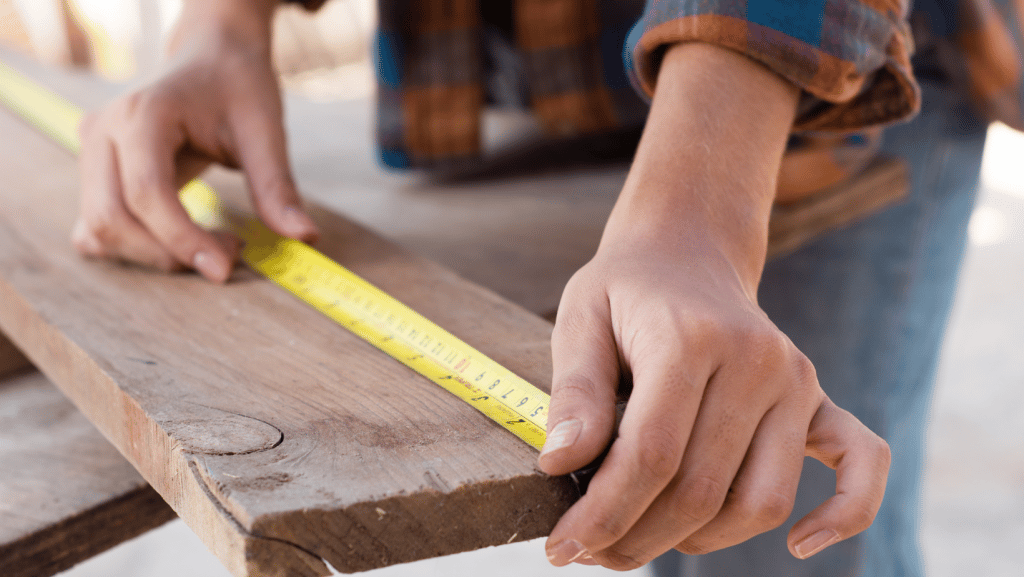
Now it is time to take some measurements. It is crucial to complete this step! Measuring carefully and accurately will help you build a portable table saw stand that fits in the space you will be working in, fits around your table saw and looks good.
When measuring, you should always consider the materials that you have chosen. What space do you have available? And what style do you want your workstation to be? Remember that a larger table saw stand would be a more significant project requiring additional materials and more time. But it will give you more space to work and store your tools.
Build the Portable Table Saw Frame

Now it is time to build the frame with your 2×2 lumber.
Remember to follow your design and the measurements you have made. Consider the number of shelves and cabinets you would like to include in your workstation.
This time is also when you consider whether you are creating a static or a portable workstation.
Using your measurements, cut the lumber to size using your jigsaw. We have found that it is easier to begin constructing the frame from the base of your workstation and work up.
To construct the legs, you must choose a more robust, thicker lumber such as a 2*4″. This will help to ensure that the legs are strong enough to carry the weight of the workstation and prevent cracks and structural weaknesses.
Measure the base from the cut you made and join it together with the four legs attached. Use wood glue and nails driven in by a hammer or a nail gun to secure the pieces together. The legs can be the same level or longer as the base frame depending on your design choices.
If you are adding rollers at the bottom, you should ensure the legs’ length is at the same level as the base frame.
From the base frame, you can start adding the frame for the cabinets from your design. End with the top frame, which will be wider than the table saw surface to provide an extra working platform.
The frame should have an opening that fits the table saw. This is usually at the centre of the workstation.
Think of Panelling and Additions
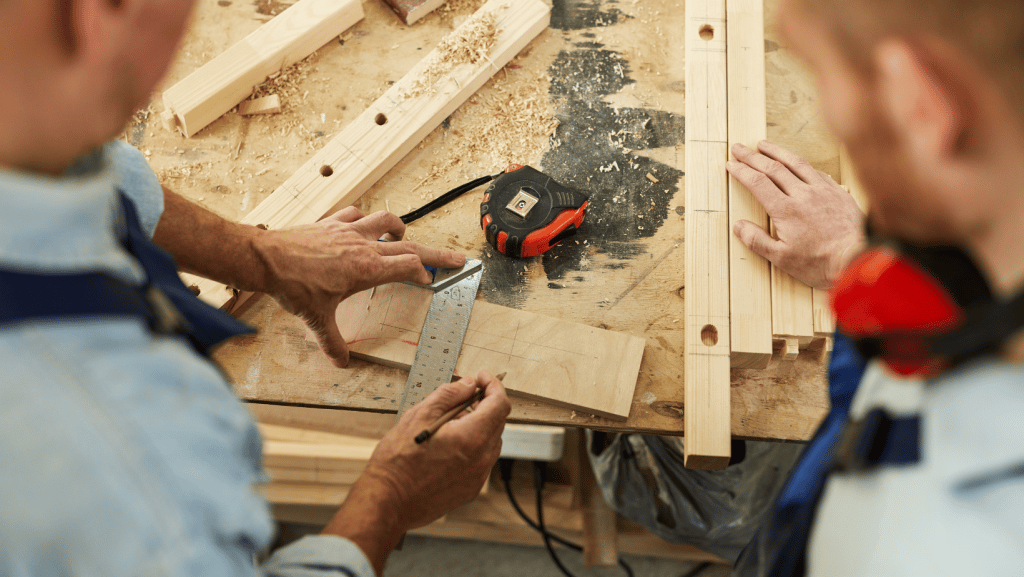
You should have a skeletal frame of your table saw stand in front of you that has been combined with nails and glue to form a rigid and stable structure. Now use plywood sheeting to cover the frame.
Begin by measuring the two side panels and cutting them. Using nails and your hammer, drive the nail in to secure the plywood to the sides of the frame. Depending on your design choices, you can cover the front and back of the frame.
You can incorporate shelving or drawers into your workstation at this point. Drawers will be more complicated to make, while shelving is easier for beginners or those who prefer to keep things simple.
Once you have included any drawers or shelving you would like, you can cut the tabletop measurement from your durable good-wood board. Be sure to leave an open section for the portable table saw!
Secure the tabletop to the frame with nails and a nail gun or hammer.
Adding the Table Saw

Now has come the moment of truth – incorporating your portable table saw into the tabletop workbench that you have crafted.
Remember that portable table saws are heavy, so be careful as you lift the table saw up and carefully fit it into the space left in the tabletop for it. If you have followed our guide, you should have a portable table saw stand that is strong enough to hold the saw.
Final Steps! Finishing Up
Your work still needs to be completed. You have worked hard on this masterpiece and want it to look its very best.
Using the sandpaper, smooth over rough surfaces to ensure a uniform and clean-looking workspace. We have found that 150-grit sandpaper is the best for this.
Now cover your tabletop with polyurethane to prevent any unsightly scratches and reduce water absorption by the wood that can lead to wood warp and your tabletop deforming. Don’t worry! The polyurethane finish won’t change the appearance of your workbench, so you can still enjoy that classic wooden look.
Our Final Thoughts: How to Make a Portable Table Saw Stand
This post has helped you learn how to build a portable table saw stand.
There is no better feeling than stepping back and admiring your work after finishing a project. Not only is building a portable table saw stand a great excuse to use your table saw, but you can now use your workstation for bigger and better projects in the future.
Following these simple steps for how to build a portable table saw workstation means that whether you are a pro or a novice in woodworking, you can make a durable and professional workstation with ease.
Considering purchasing a new portable table saw? Our best portable table saw market guide includes a comprehensive breakdown of all the best saws available right now to help you find the best tool for the job.

