Whether you have purchased a brand-new table saw or have been utilising the same faithful saw for decades, there will come a time when you need to know how to square jobsite table saw.
What does making your table saw square mean? And why is it important? Squaring up the top of your table saw is critical to accuracy and safety. Your saw blade must be aligned with the mitre gauge slots on your tabletop. When these are aligned, your top is aligned – or square.
With the expansion of the construction industry anticipated to drive the demand for table saws in the near future, many woodworkers will likely be searching for information on how to square their table saws.
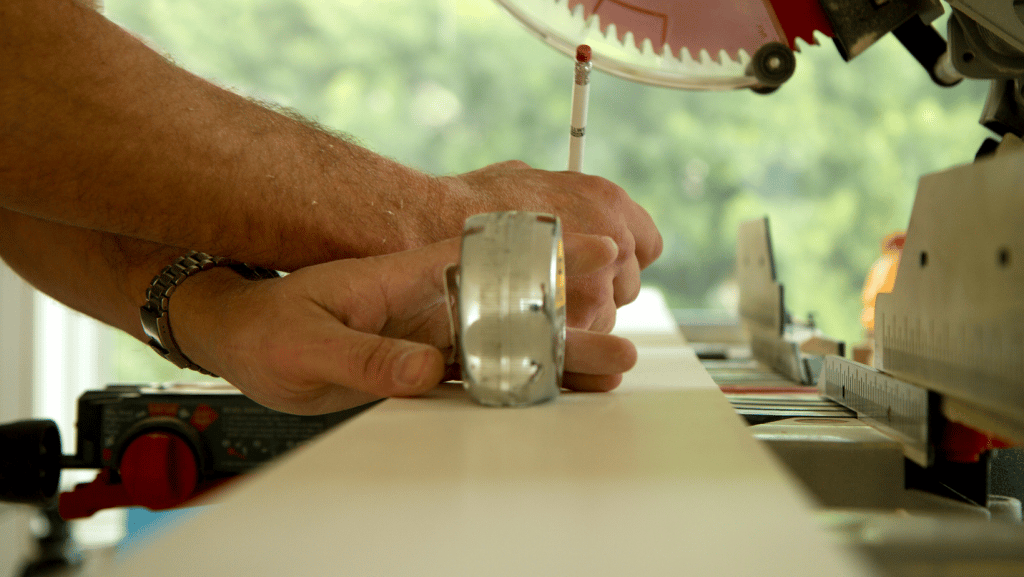
A perfectly aligned or “squared” table saw is a must-have tool for any woodworking workshop. Read on to discover how to align your table saw.
Step 1: Check Blade Is Parallel
Unplug the table saw. Then, raise the saw blade to just below the top position and remove the anti-kickback pawls and blade guard.
Next, mark a tooth at the back of the blade and measure the distance from the right mitre gauge groove to the tooth. Turn that same tooth to the front and measure from the right mitre gauge groove to the tooth again. If the measurements are the same, the blade is aligned.
If the blade is out of alignment, place the riving knife down and loosen the adjusting screws on the saw table.
Adjust the blade to square and re-tighten the alignment screws, aligning the rip fence to the blade after any blade adjustments. Always ensure the rip fence is parallel to the blade to reduce the risk of kickback.
Step 2: Align the Riving Knife and Saw Blade
To check for horizontal alignment, lay a framing square or set square horizontally against the riving knife and saw blade if the square contacts both the saw blade and riving knife evenly, with no gaps, the saw blade and riving knife are in alignment – or square.
Place the framing square or speed square vertically against the riving knife to check for vertical alignment. If the square contacts the riving knife evenly, with no gaps, the riving knife is in alignment.
The riving knife must be in alignment both horizontally and vertically.
To adjust the riving knife, remove the throat plate if necessary. Next, unlock the release lever by pulling up and ensuring the riving knife is fully extended.
Loosen the screws holding the mounting bracket at the back of the table saw and reposition the riving knife to align it with the saw blade. Once it is aligned, tighten the screws. Check again for square and continue to adjust if necessary.
Replace the throat plate.
Step 3: Check and Adjust the Blade Bevel
Vertical
Set the blade to vertical 0 ̊. Place a combination square beside the left of the blade. If the square contacts the blade evenly, the blade is perfectly vertical.
If the blade is not perfectly vertical, you must adjust it.
Place a combination square on the left of the blade and then turn the bevel handle as far to the left as you can, pushing the bevel locking lever down to lock in the angle.
If the blade is not perfectly vertical or flush with the square, loosen the adjustment screw and adjust it until it is. Re-tighten the adjustment screw.
If the handle is turned as far as possible and the blade is perfectly vertical. If the bevel indicator still does not show zero, adjust the bevel indicator by removing the handle and loosening the indicator screw.
Adjust to zero and re-tighten the screw.
45 ̊ Bevel
Set the blade to 45 ̊. Place the combination square beside the left of the blade at its 45 ̊ setting. If the square contacts the blade evenly, the blade is at 45 ̊. An adjustment is necessary if the blade is not at an exact 45 ̊.
Place the combination square on the left of the blade and turn the bevel handle until the blade is on the far left side of the slot. Lock the angle by pushing the bevel locking lever down.
Loosen the adjustment screw and adjust the blade until perfectly flush with the 45 ̊ square.
Re-tighten the adjustment screw.
If the handle is turned as far as possible, the blade is at a perfect 45 ̊. If the bevel indicator still does not show 45 ̊, adjust the bevel indicator by removing the handle and loosening the indicator screw. Adjust to 45 ̊ and re-tighten the screw.
Step 4: Aligning Rip Fence
First, ensure the mitre slot is parallel to the saw. Next, slide the rip fence to the mitre gauge slot and lock it in place. If the fence aligns with the entire length of the slot, the rip fence is in alignment. If the fence diverges from the mitre slot, it is out of alignment.
To adjust the rip fence, loosen and align the bolts on top of it. Re-tighten the bolts.
If the handle is turned as far as possible, the blade is at a perfect 45 ̊. If the bevel indicator still does not show 45 ̊, adjust the bevel indicator by removing the handle and loosening the indicator screw. Adjust to 45 ̊ and re-tighten the screw.
After completing all the alignments, reinstall the anti-kickback pawls and blade guard.
Make a few test cuts on scrap wood to ensure accurate alignments. If the cuts are not proper, repeat any alignments necessary.
Once you’ve ensured all alignments are accurate, your table saw is square and ready to go.
Conclusion
Now you know how to square jobsite table saw.
Your table saw needs top-quality blades to work correctly and make clean and accurate cuts.
If you are searching for the best blade for your jobsite table saw for the money, why not check out our handy guide on the ten best table saw blades available on the market today?

