How To Make Jobsite Table Saw Into Full Size Table Saw?

Table saws – where would we be without them? With the increase in demand for handmade wooden furniture, it is no surprise that the table saw is sure to be one of the most popular tools on the market for years to come.

Full-size table saws are usually equipped with an in-built platform that helps you in supporting your workpiece and ensures a smooth cut. Because of the sheer size of a full-size table saw, many amateur and professional woodworkers have trouble finding room to store such mammoth machines.

With so many great portable table saws on the market, and many equipped with additional features that help them stand out, these portable models are excellent. One downside of jobsite table saws? Not all models allow you the space needed for more significant woodworking projects. 

If you have found your way here, you are likely looking to learn how to make a jobsite table saw into a full size table saw. 

Our answer? You can build a workstation!

Materials

Materials

You must use some high-quality materials to build a high-quality workstation for your jobsite table saw. You will need the following: 

  • Portable table saw. (You will be building your workstation with it!)
  • Measuring tape
  • Drill
  • Nails
  • Screws
  • Hammer/nail gun
  • Sander
  • Sandpaper
  • Jigsaw
  • Polyurethane: (To protect the surfaces of your workstation)
  • Wood glue
  • 1 x good quality wood board
  • 4 x plywood sheets
And that’s it! Once you have your materials, you can read on to see how to make a workstation for your jobsite table saw.
 

Choose the Best Wood

Choose the Best Wood


Our top tip for making sure that you are building the best table saw workstation is to ensure that you choose the right type of wood to use. With good-quality wood, your workstation can last you a lifetime.

We recommend a good quality oak for this project. Good oak boards measuring 2 inches x 8 inches x 8 feet will be ideal. You should also find some quality lumber for the table support and the legs, as you need these to be strong, sturdy, and durable.
 

Measurements
Measurements


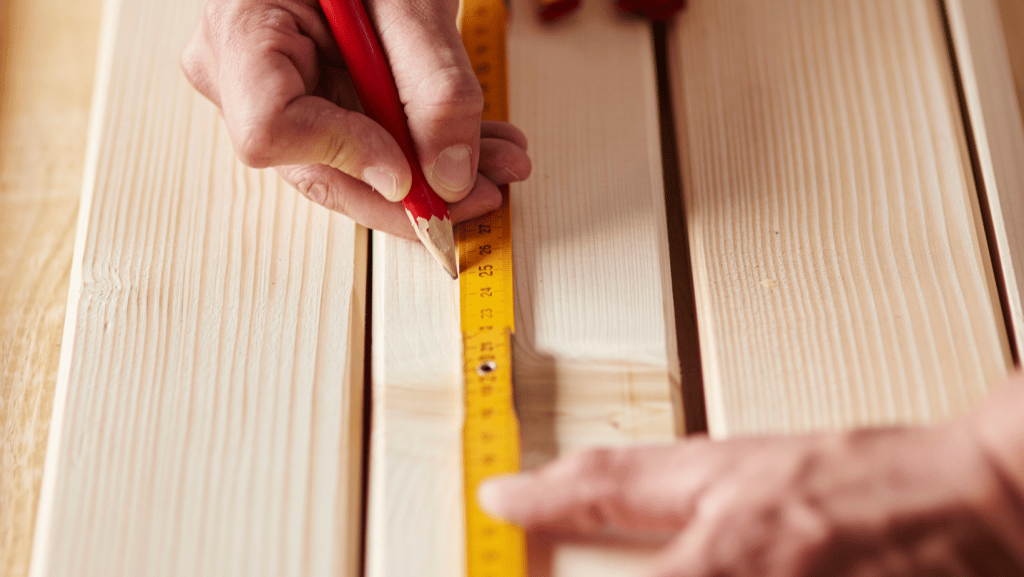
Measuring carefully and accurately will help you build a workstation for your jobsite saw that fits in the space you will be working in, fits around your table saw, and looks good.
 
When measuring, you should always consider the materials that you have chosen. What space do you have available? And what style do you want your workstation to be? 
 
While a more significant workstation will allow you to tackle larger projects and house your tools, does the space in your workshop allow for a larger workstation? 
 

Build The Frame

Build The Frame


Now it is time to build the frame with your 2×2 lumber.
 
Remember to follow your design and the measurements you have made. Consider the number of shelves and cabinets you want to include in your workstation.
 
Using your measurements, cut the lumber to size using your jigsaw. 
 
Choose a robust 2*4″ lumbar for the legs of your workstation. This will mean that the legs are strong enough to carry the weight of the workstation and prevent cracks and structural weaknesses. 
 
Measure the base from the cut you made and join it with the attached four legs. Use wood glue and nails driven in by a hammer or a nail gun to secure the pieces together. 
 
From the base frame, you can start constructing the frame for the cabinets from your design. 
 
End with the top frame, which you should ensure is wider than the table saw surface to provide an extra working platform. 
 
The frame should have an opening that fits the table saw. This is usually at the centre so that the frame is balanced.

Think of Panelling and Additions

Think of Panelling and Additions


You should have a skeletal frame of your workstation combined with nails and glue to form a rigid and stable structure. Now use plywood sheeting to cover the frame. 
 
Begin by measuring the two side panels and cutting them. Using nails and your hammer, drive the nail in to secure the plywood to the sides of the frame. Depending on your design choices, you can cover the front and back of the frame. 
 
You can incorporate shelving or drawers into your workstation at this point. Next, cut the tabletop measurement from your durable good-wood board. Be sure to leave an open section for the jobsite table saw!
 
Secure the tabletop to the frame with nails and a nail gun or hammer.
 

Final Steps

Now you can incorporate the jobsite table saw. With a strong friend, lift the jobsite table saw into the hole in the tabletop. It should fit like a glove. 

Using the sandpaper, smooth over rough surfaces to ensure a uniform and clean-looking workspace. We have found that 150-grit sandpaper is the best for this. 

Now cover your tabletop with polyurethane to prevent any unsightly scratches and reduce water absorption by the wood that can lead to wood warp and your tabletop deforming.

Our Final Thoughts: How To Make Jobsite Table Saw Into Full Size Tablesaw

Following these simple steps for how to turn a jobsite table saw into a full workstation means that whether you are a pro or a novice in woodworking, you can make a durable and professional workstation with ease. 

Are you looking to buy a new jobsite table saw to sit in your workstation? You should check out our ultimate guide to jobsite table saws. Our in-depth guide includes a breakdown of all the best saws on the market now!

We will be happy to hear your thoughts

Leave a reply

www.cuttinghq.com
Logo
Enable registration in settings - general