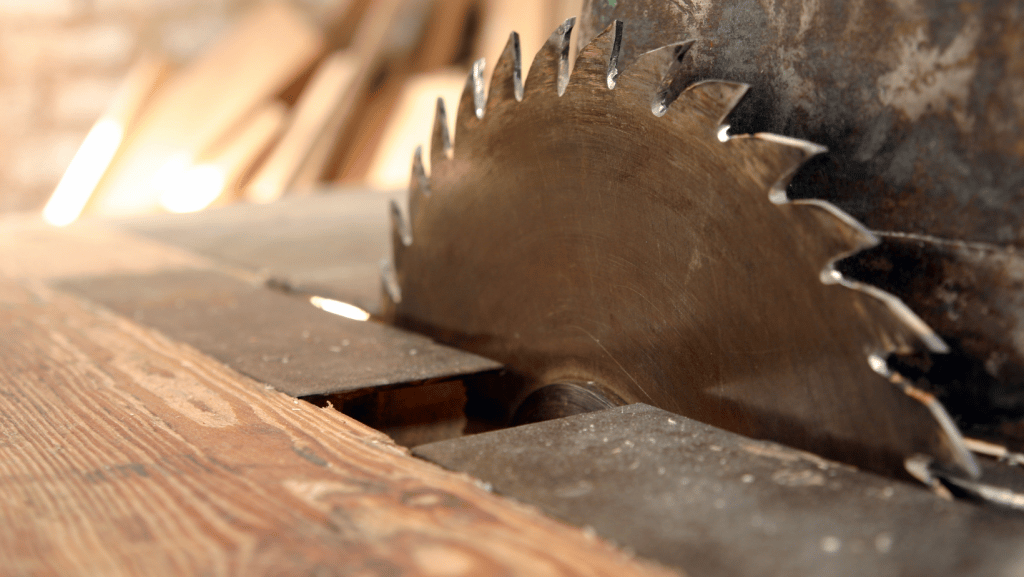
Learning how to change a table saw blade isn’t particularly difficult. However, it does require proper expertise to ensure that you don’t injure yourself. Take it from me; it’s better to know this before undertaking any project, even if it’s a simple cut.
I used to think that changing saw blades shouldn’t take much knowledge. Because of this simple but erroneous assumption, I ended up wrecking my most expensive table saw at that time. From then on, I made sure that I familiarized myself with the parts of my table saw and also made it a mission to help fellow woodworkers.
Every handyman and hobbyist should be familiar with how to change a table saw blade. This is because you’ll need to do this basic skill in several projects, even if you are using the best table saw for home use.
When used frequently, table saw blades need to be changed when they become dull. You’ll also need to change your blades based on what material you are cutting. I learned this the hard way when I was just starting out. And it was not a pretty sight, believe me.
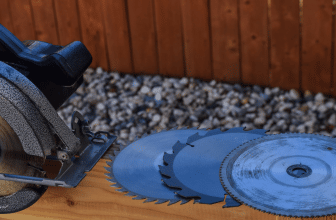
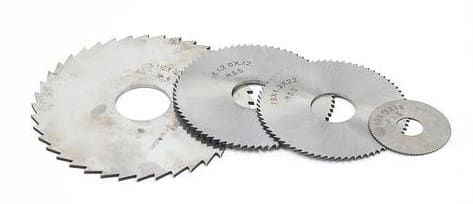
The most common types of blades for table saws include dado blades, rip blades, and crosscut blades. This is the general method of changing table saw blades, even if you use the best table saw for the money, for home use, or for small shop setups.
The materials you will need when you learn how to change a table saw blade are:
- Table saw blade
- Wrench or hammer
- Screwdriver
Contents
- 1 Step 1 - Disconnect from the power source
- 2 Step 2 - Remove The Throat Plate And Blade Guard
- 3 Step 3 - Lift off the saw blade
- 4 Step 4 - Loosen and remove the arbour nut
- 5 Step 5 - Remove The Blade
- 6 Step 6 - Replace with the new blade
- 7 Step 7 - Replace The Washer And The Arbour Nut
- 8 Step 8 - Tighten The Arbour Nut
- 9 Step 9 - Replace the throat plate and blade guard
- 10 Step 10 - Check if it's safe to use
- 11 Conclusion
Step 1 - Disconnect from the power source
- Lock the blade in place and turn off the saw.
- Unplug the saw.
- Wait for the blade to stop spinning completely before removing it.
Step 2 - Remove The Throat Plate And Blade Guard
If you are unsure at this point, check the manual of your saw. Otherwise, you can proceed to the following steps:
● Remove the throat plate, which is located between the blade and the table. It is typically held in place with one or more screws that need to be loosened before being removed from the saw.
● Once removed, set the throat plate aside safely.
● Remove the riving knife, if applicable.
● Unplug your saw, and double-check to be sure that it is unplugged before working on it.
I once experienced a slight electric shock by working on my saw while it was still plugged in. Take my word for it; always double check that everything is unplugged.
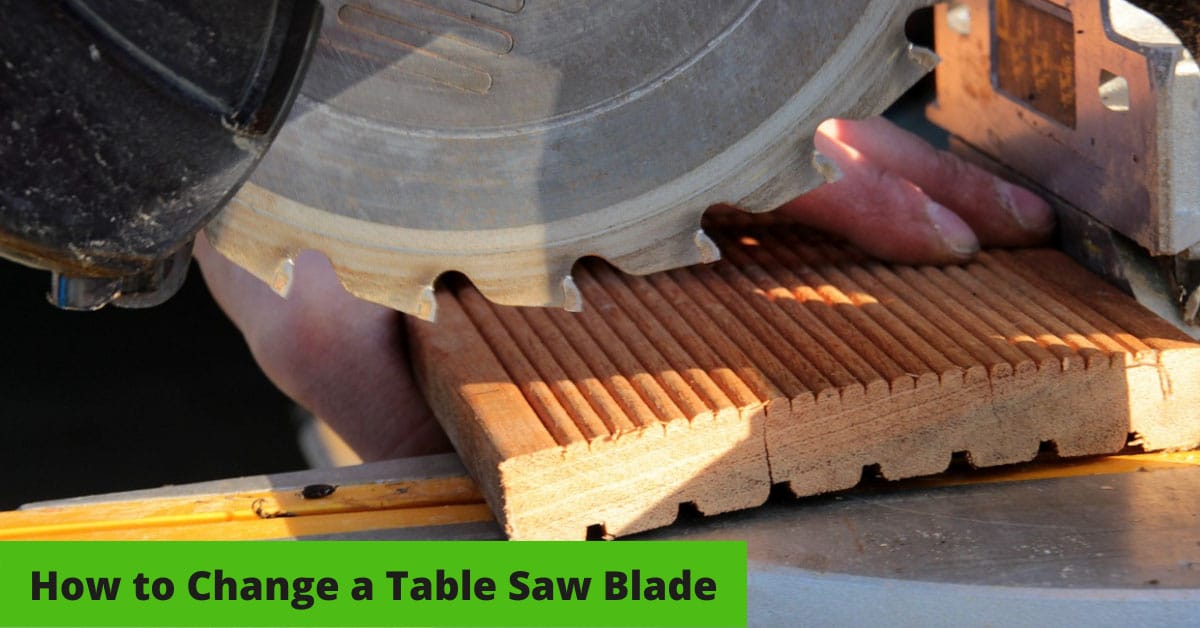
Step 3 - Lift off the saw blade
The next step is to remove the blade from your table saw. To do this, you must make sure that you have the following conditions:
● Wear gloves, and make sure you don’t have any fingers near the blade when it’s spinning. At this point, the blade is very sharp and could cause serious harm.
● Use the right tool. Don’t try to use your fingers or anything else that could be easily cut off by the blade. You’ll want to use something sturdy and made of metal. You can use a wrench or an L-shaped hex key, which is a type of crowbar.
You should know that even gloves will not protect your hands fully. I once had an accident with my gloved fingers because I was too confident about not using the L-shaped hex key.
Step 4 - Loosen and remove the arbour nut
The arbour nut has a left-hand thread. This means that when you tighten it, the nut and bolt turn in opposite directions.
The wrench should only be used on one side of the table saw’s frame. To loosen and remove an arbour nut, you must do the following:
● Position your wrench appropriately to get a good grip on it with both hands.
● Turn the wrench clockwise until it stops turning. Doing this will also loosen any grime or dirt completely from where you’re working.
● Place your spanner over the arbour nut’s head. This is the smaller part where there are holes. Make sure not to touch any moving parts or other surfaces around there, especially if they are sharp or hot.
The most satisfying thing about this part is when the grime and dirt come off. That’s when you see how dirty even the most hidden parts of the saw can be.
Step 5 - Remove The Blade
● First off, unplug your saw before attempting to change your blade.
● Next, you’ll need to apply force with a wrench or hammer to loosen the arbour nut. The wrench should be large enough that it doesn’t slip from the nut once it’s been loosened.
● If you can’t get your hands on a tool that will fit over the nut without slipping around it, don’t stress it. You can use a screwdriver to do the trick instead. Just be careful not to hurt yourself or damage any part of your table saw.
While you can use other tools, you have to be a bit careful. Thick gloves and protective clothing help, but don’t get overconfident.
Step 6 - Replace with the new blade
● Make sure the new blade is the same diameter as your old one.
● Ensure you match the direction of rotation.
● To be certain that your new blade will properly cut, check that its teeth face forward in the same way as they did on your old blade. For example, if you are using a crosscut blade and need to resaw wood, make sure that all of its teeth face toward you.
● It is ideal to have a long rip fence with a T-square jig. This is so that you can easily align the new blade with the line you are cutting, as well as make it easy for changing new blades in the future.
● Securely tighten all nuts and bolts surrounding your table saw’s arbour shaft with an adjustable wrench before starting up again. Otherwise, it could start to malfunction later when vibrations from running machinery begin taking their toll on poorly assembled components.
At this point, you should have a new blade on hand. Make sure that your blade is ideal for your woodworking needs.
Step 7 - Replace The Washer And The Arbour Nut
● Now, put the washer back on the arbour. Make sure you have it lined up with the flat side of the nut and that it’s facing away from you.
● Then, stand in front of your table saw, and hold onto both sides of the blade guard. Be careful as it is quite easy to cut yourself accidentally.
● Next, put your arbour nut back on. You’ll want to make sure that it’s threaded correctly so that when you tighten it down again later with another wrench, it won’t cause any damage to your blade or arbour threads.
I made the mistake once of not double-checking the thread. It was an experience that no woodworker should ever go through.
Step 8 - Tighten The Arbour Nut
● After you’ve turned on your blade, tighten the arbour nut. This is a critical step in ensuring your blade does not come off during use.
● Place the blade on top of the arbour, and press down firmly.
● Ensure that all of the teeth are facing down into the table saw.
● If they aren’t, remove the blade and flip it over, such that the teeth are facing down, before pressing the blade back onto the arbour again.
● Fix the hand-tight using an Allen wrench or socket wrench, but do not over-tighten at this point to prevent it from breaking. You want enough tension so that when you spin by hand, there is no wobble or movement in any direction other than the rotation around its axis. Even then, you want only a slight movement.
● You’ll know if there’s too much pressure when it starts feeling like someone is pushing up from underneath as you spin. This means too much force has been applied at one point, and it needs counteracting elsewhere along its length – commonly referred to as “wedging”.
Wedging is a bit common among most new woodworkers. My advice is to safely check the correct pressure on the arbour nut often in order to get the correct fit.
Step 9 - Replace the throat plate and blade guard
● Make sure that the throat plate is in the correct position.
● Make sure it’s the correct size for your table saw and that it’s not damaged or cracked.
If do you see that it’s damaged or cracked, you should make sure it gets repaired or replaced.
Step 10 - Check if it's safe to use
● Before you begin, it’s essential to ensure that your table saw is in good working order and safe to use.
● Check the blade tension. Make sure that the blade is secure. If it’s loose or wobbling, tighten it by turning the Allen wrench or screwdriver on one side of the blade toward you until there is no more movement.
● Check for obstructions in the throat plate, and make sure it is properly aligned with your wood material.
● Ensure that there are no bulges or gaps between them when they meet up during cutting operations.
I once began working right away on my project after changing the blades without checking for safety. Thankfully, I was able to stop before the blade caused any serious damage.
Conclusion
Once you’ve figured out how to change a table saw blade the right way, you’ll realize that it’s not a complicated process after all. Whether you’re changing blades for the best table saw for small shop setups or for home use, you’ll still need to learn this basic but valuable skill.
Most projects will require you to change your blades numerous times, and knowing how to change the blades yourself will save you a lot of time. Now that you’ve learned how to change a table saw blade, you can proceed with your woodworking projects with confidence.