If you have been working with a table saw for as long as we have, you may need to replace the throat plate to ensure your table saw operates smoothly and efficiently.
If you are looking for how to level jobsite table saw throat plate, this blog post will talk you through all the steps, from installing a new throat plate to making sure it is level.
A throat plate can help mitigate various health and safety concerns when operating a table saw. With machinery involved in 58% of work-related amputations in 2018 alone, you must buy and use the best throat plates and blades.
How To Install A Zero Clearance Throat Plate
One afternoon in the workshop, whilst cutting a thin slice of wood for a project, the cut-off I was working on was sucked down into the blade arbour area and crushed the table saw insert.
This happened quickly, and fortunately, no one was injured. But it proved to me, more than ever, that a zero clearance throat plate insert would help to mitigate this happening in the future.
Zero clearance inserts help to minimize tear-out, support even the smallest and thinnest of cuts and even make your table saw safer.
But how can you install a throat plate?
Of course, you can make your throat plate if you are feeling crafty, but for ease of time and to get my table saw as safe as possible as quickly as possible, I purchased a table saw throat plate online.
You should always ensure that you carefully read and follow the instructions with your specific throat plate. I will detail my steps to install the throat plate I purchased.
Step 1: Use Screws To Level Insert
I began by levelling the throat plate insert flush with the table saw surface by adjusting the screws on the unit’s top, side and front.
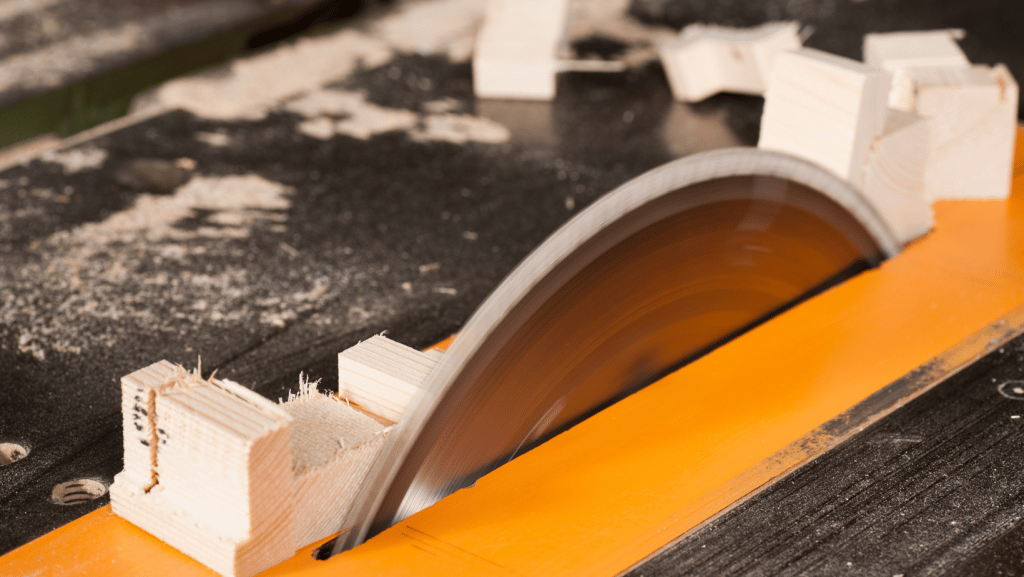
Step 3: Raise Blade Fully
Then, with the saw blade set to 0 degrees, I switched on the table saw and slowly raised it to its full height
Then I turned off the saw, retracted the blade, and removed the clamps and the retaining strip of wood, leaving me with a zero clearance insert custom cut to my table saw blade.
You can use the zero clearance insert for minor detail cuts and get less tear-out, more cut-off support, and improved safety – so it’s win, win, win!
How To Level Jobsite Table Saw Throat Plate
Are you looking for another way how to level jobsite table saw throat plate? Why not try this handy hack:
A quick and easy way to tackle the challenge of levelling a throat plate is using a hot-melt glue gun and some paste wax.
Start by applying a coat of paste wax on the tabs that support the plate. When the glue is heated in the gun, squeeze a small amount onto each tab where they meet the insert.
Press the plate into the opening until it’s flush with the table. I recommend using a straightedge for this.
The paste wax will prevent the glue from sticking to the tabs but will adhere to the insert plate to keep it level.
In just a few moments, you have a flush insert plate that you can use repeatedly.
Conclusion
Now you know how to replace your table saw throat plate and ensure it is level in a few easy-to-follow steps.
An excellent and level throat plate combined with a top-quality blade will help your table saw to work efficiently and safely.
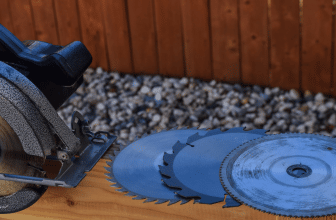
With so many great options available on the market, you may need some help to buy the best table saw blade for home use and professional woodworking.
Whether you want a blade for ripping, crosscutting, or both, you need to ensure you get one compatible with your table saw, and our handy guide to the best table saw blades on the market will provide you with all the information you need to get the best blade for your money.