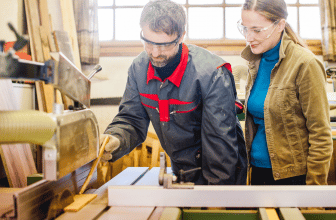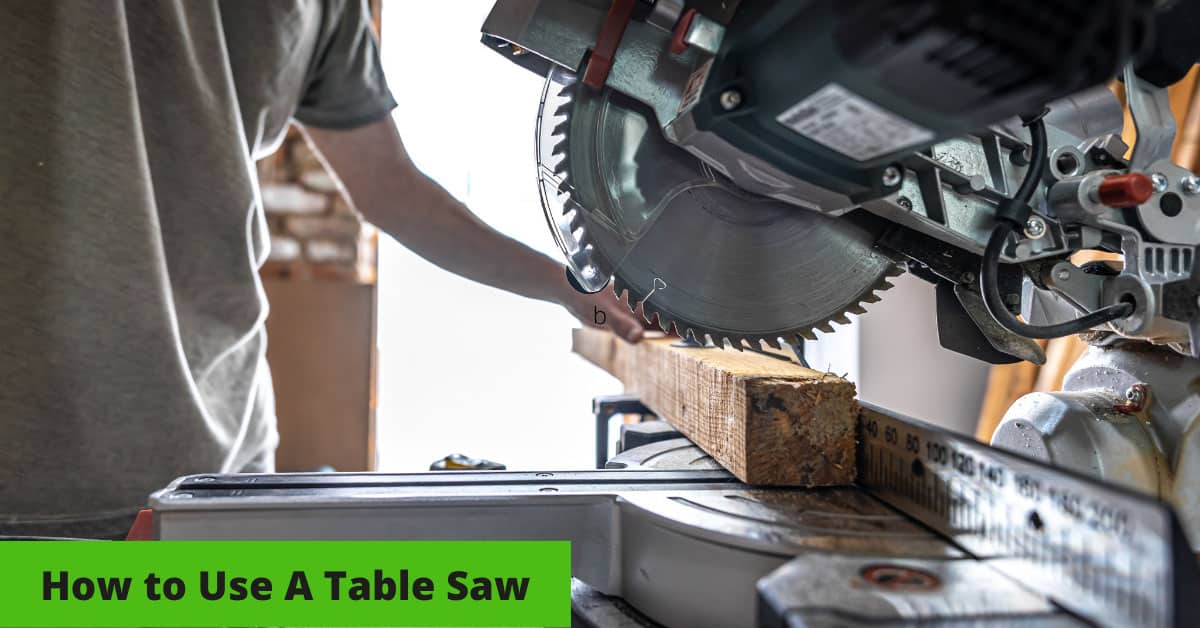
The table saw is recognized as the “king of saws” for most woodworkers due to its versatility and ease of use, but it still requires a precise handle to get the most out of it.
With the proper jigs, there’s little to no material that you can’t cut with a table saw, ranging from box joints to tenon joints. Even when faced with the option of using different types of saws, you’ll likely realize that you need a table saw after all! Yet, if you don’t know what you’re doing, a table saw can be difficult to manage and, at worst, dangerous.
This is why you’ll need to look for the best table saw for the money, whether it’s for your workshop in a small shop or that personal project you’re working on at home. The best table saws have in built safety features and are easy to manage.
But if you’re in that process of learning, getting to grips with how to control, manage and use your table saw is crucial. While learning how to use a table saw, you’ll need to familiarize yourself with the basic controls, as they are the same for almost all models of table saws, although they might be in different locations. Plus, getting to know the different parts of the table saw will help you too.
So, if you’re learning how to use a table saw, there’s no better place to start than reading this article. Sit back, relax, and read on to discover our best practices for using table saws.
Contents
- 1 1. Always Unplug First
- 2 2. Familiarize Yourself with all the Parts
- 3 3. Check the Saw for Alignment Before Each Use
- 4 4. Cut with the Grain of the Wood
- 5 5. Use a Push Stick when Cutting Small Pieces
- 6 6. Be Mindful of where your Hands are at all Times
- 7 7. Use Mitre Gauge, Fence, and Table to Control Cut Distance
- 8 Conclusion
1. Always Unplug First
This is the most important rule to follow because it’s for safety reasons as well. When you plug in your saw and turn it on, there’s always a risk of electrocuting yourself if your hands are wet or sweaty.
The best way to unplug a table saw is by using an extension cord with an “on/off” switch at the end of it. This way, when you’re not using your saw and thus don’t need power running through its motor. All you have to do is flip that switch down.
2. Familiarize Yourself with all the Parts
The table saw is a tool that contains many parts. Some of the best table saw for small shop setups have this feature. To use your table saw safely and effectively, it’s essential to know what each part does.
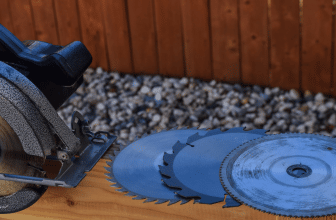
The table saw blade is the actual cutting part of the saw. It’s made up of two or more steel or carbide blades that spin at high speed when activated by pulling its starter rope.
It has a guard that protects users from accidentally getting hit by flying pieces of wood during operation. This guard is attached to the front end plate, behind which you insert your wood before cutting it on your table saw.
The miter gauge helps guide precise cuts for crown molding or picture frames, even the irregular shapes like those found in frames. The miter gauge is the part that allows these pieces to fit perfectly together when joined into one finished piece.
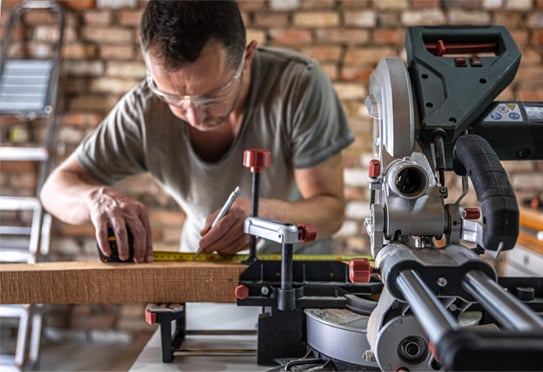
3. Check the Saw for Alignment Before Each Use
Check that the saw is square at a right angle to your work surface. A square is a metal device with one end marked 90 degrees and can be used to ensure that all sides of the blade and table are at right angles to one another, which is at 90 degrees.
The height of your blade should be checked, so you know it’s set correctly. It should be at least 1/32″ above your workpiece when fully raised or lowered. Even the best table saw for beginner woodworkers should have this feature.
Turn on the saw, and raise or lower it until you see daylight through any part of your wood piece, and then measure how high up from the tabletop it sits. This will vary depending on how thick your piece is.
Adjust it by turning counterclockwise, if needed, until there’s no gap between the table surface and blade edge when fully raised or lowered.
The fence must also align with either side of the blade; otherwise, this can cause problems later. Use clamps to hold down both sides of the fence to keep them perfectly flushed against each other, then tighten up the screws so both remain stationary.
4. Cut with the Grain of the Wood
Remember that wood grain runs parallel to the length of a board. You’ll want to cut with the grain, that is, across the board’s width when possible. This will result in a more precise cut, plus it also requires less sanding afterward. You can even cut glass if you want to.
Once you’ve found where you need to make your first cut and have lined up your blade accordingly, lower it onto your wood piece slowly until it touches down at its lowest point.
Then, raise it back up as far as possible without lifting more than an inch off your surface before pulling it back toward yourself again. Repeat this step until all four sides are entirely trimmed off whatever piece you’re working on.
5. Use a Push Stick when Cutting Small Pieces
A push stick is a tool that you can use in place of your hands. It’s beneficial when cutting small pieces or pieces of wood less than two feet long or less than two inches wide.
When making cuts, be sure to remember the following:
● Use the push stick to push the piece of wood through the blade.
● Be sure to keep your hands away from the blade at all times.
The push stick will help you keep your piece steady and safe. The best table saw for home use ideally has this feature.
6. Be Mindful of where your Hands are at all Times
The saw blade will cut you even if it’s not moving. Always keep your hands away from the blade and use a push stick to keep them there while you work.
If you don’t have a push stick, use something else to hold your material down before cutting. For example, if you are cutting along the edge of something long like plywood or 2x4s, clamp them in place with your jaw-style clamps before starting the saw.
7. Use Mitre Gauge, Fence, and Table to Control Cut Distance
You can use the miter gauge, fence, and your saw’s table to control the distance between your workpiece and blade. Even the best table saw for home project should have these features.
The miter gauge is a metal bar that slides in and out of brackets on each end of the table. The fence is attached to one side of the saw’s table. Both of these tools help you make straight cuts at various angles.
To adjust your miter gauge:
● Loosen its screws to slide freely within its brackets, then slide it forward or backward until it aligns with your blade so it won’t be in contact when you cut.
● Tighten the screws again to keep this position firmly set.
To adjust your fence:
● Slide it back or forth so that its front edge aligns with where you want to cut. Make sure that there is no gap between them.
● Lift both ends simultaneously while tightening down their mounting bolts once they’re appropriately aligned. This will ensure they’re securely locked into place before using them for cutting operations later on.
Conclusion
Anyone can learn to use a table saw safely and effectively, making the table saw our favorite home and shop tool.
You certainly don’t need to be an expert in how to use a table saw, even if you happen to own one of the best table saws for woodworking, but you do need to remain vigilant and careful. The table saw is not a complicated tool, and with just a couple of safety tips and some practice, you will be able to use it on your next project safely.
All you need to do is ensure you protect your eyes and hands when working with power tools such as your table saw. If you need more information, check out more of our informational content here.