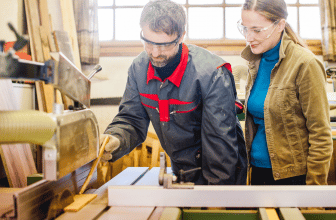
Knowing how to use a portable table saw is necessary for many of us. Whether we are seasoned pros or new DIYers, the portable table saw can quickly become an indispensable addition to our toolkit.
Here at Cutting HQ, one of our most frequently asked questions from novices and pros alike is how do I use a portable table saw?
If you have found your way to this page, you are searching for the answer too.
Whether you are looking to find out how to use a Makita portable table saw after buying one new or are looking for some extra help after glossing over the user manual of your faithful portable pal, this quick guide will help you discover how to use a portable table saw.

The most important rule to follow when learning how to use a portable table saw is always to be safe. Over 30,000 table saw accidents happen annually. These accidents happen to amateurs and professionals.
Some accidents and injuries result in finger and thumb tendon, nerve, vascular damage or even amputation.
While table saw manufacturers must equip saws with blade guards to prevent blade contact, table saw injuries can still happen among professionals and amateurs. And cuts or nicks from blades aren’t the only injuries that can occur if you aren’t careful.
Our Cutting HQ safety tip is always to ensure that your hands are bone-dry before using your table saw. Wet or sweaty hands can increase your risk of electrocution.
Remember, too, that the saw blade can cut you even if the saw is not running. Always be mindful of where your hands are when there are saws or blades around.
When using the saw, remember to keep your hands away from the blade and use a push stick to push through smaller pieces of material while you work. Use something heavy to hold down any larger material you are cutting, or use jaw-style clamps to keep your hands out of the way.
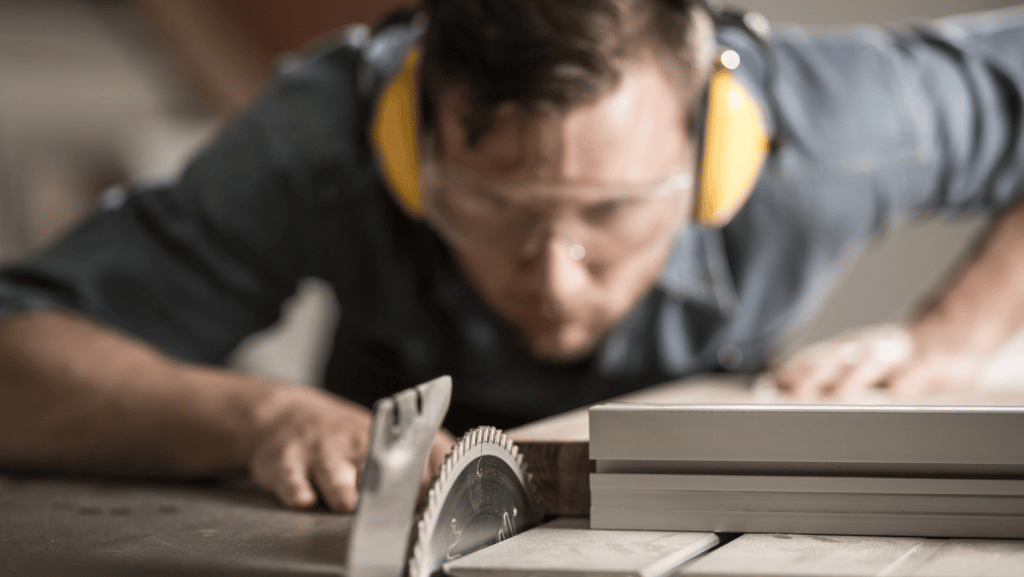
And always remember to wear safety goggles!
Get Familiar
Your portable table saw will contain many parts. To use your portable table saw safely and effectively, it’s essential to know what each part does.
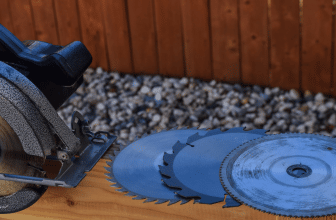
The table saw blade comprises two or more steel or carbide blades that spin at high speed when activated by pulling its starter rope. This is the part of your table saw that does the cutting – although we are sure you already know.
The blade should have a guard that protects you from being hit by flying pieces of wood during operation. This guard is attached to the front end plate, where you insert your wood before cutting it on your table saw.
The mitre gauge helps guide precise cuts for crown molding or picture frames, even the irregular shapes like those found in frames. The mitre gauge is the part that allows these pieces to fit perfectly together when joined into one finished piece.
Check Alignment and Make Adjustments
Check that the saw is square at a right angle to your work surface. You should ensure that all sides of the blade and table are at a 90-degree right angle.
Check the height of your blade. It should be at least 1/32 inch above your workpiece when fully raised or lowered.
Turn on the saw, raise or lower it until you see daylight through any part of the material you are working on. Measure how high up from the tabletop it sits. This will vary depending on how thick the material is.
Adjust it by turning counterclockwise until there is no gap between the table surface and blade edge when fully raised or lowered.
You should also ensure that the fence on your portable table saw lines up with either side of the blade.
If you need to adjust the fence, use clamps to hold down both sides of the fence to keep them perfectly flush against each other, then tighten up the screws, so both remain stationary.
Adjusting the Gauge:
- Loosen the screws so the gauge slides freely within its brackets.
- Slide it forward or backward until the gauge aligns with your blade
- Tighten the screws to keep the gauge in position
Adjusting the Fence:
- Slide the fence back or forth, so the front edge aligns with where you want to cut.
- Ensure that there is no gap between them.
- Lift both ends simultaneously while tightening the mounting bolts
Start Cutting

Now you know how to stay safe and have made any adjustments you need to make to your portable table saw, you are ready to start cutting.
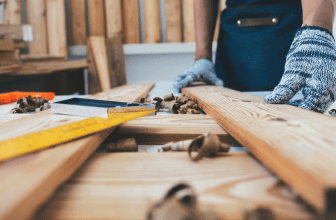
Before starting your job, you should ensure that any supports are in the correct place and that the edge of the material you are working on is square to the blade.
Ensure that the saw is set up and that your fence guide is set to the correct position for the size of cut you are making, and be sure it is parallel with the blade.
Then it would be best if you double-checked that the safety cover for the blade is firmly fixed and positioned over the top of the blade.
Start the saw and gently push your item through the blade when all is ready, ensuring you take your time.
Do not force the material through, as you may damage it or strain the saw’s motor unnecessarily.
Keep an eye on your cut line and check that you follow true to it and that your timber is flush with the fence guide.
And remember – keep those fingers out of the way!
Our Final thoughts: How to Use a Portable Table Saw
We hope this post has helped you learn how to use a portable table saw. You should always check the manufacturer’s instructions with your saw if in doubt.
Always complete your safety checks before you begin working, get to know your tool before turning it on, and always check saw alignment and adjust your mitre gauge and fence if needed before beginning your work.
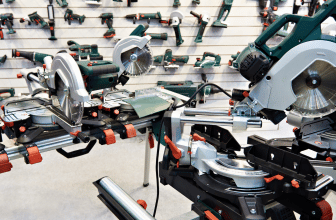
If you are considering purchasing a new portable table saw you should check out our portable table saws expert buying guide. Our in-depth guide includes a breakdown of all the best saws on the market now!