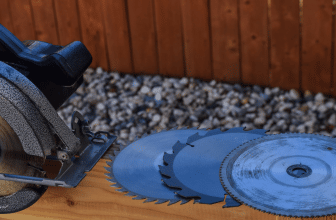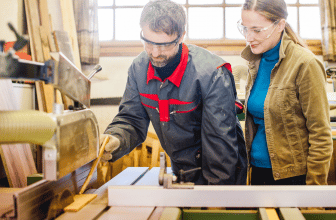
Everybody loves their miter saw. It is an indispensable tool and a real buddy of mine when it comes to woodworking jobs – both pro and DIY.
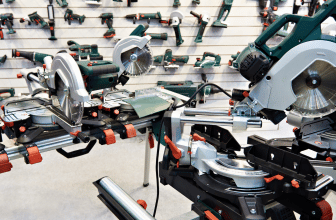
Miter saws are an excellent addition to your toolkit, but they are heavy, cumbersome, and challenging to move around.
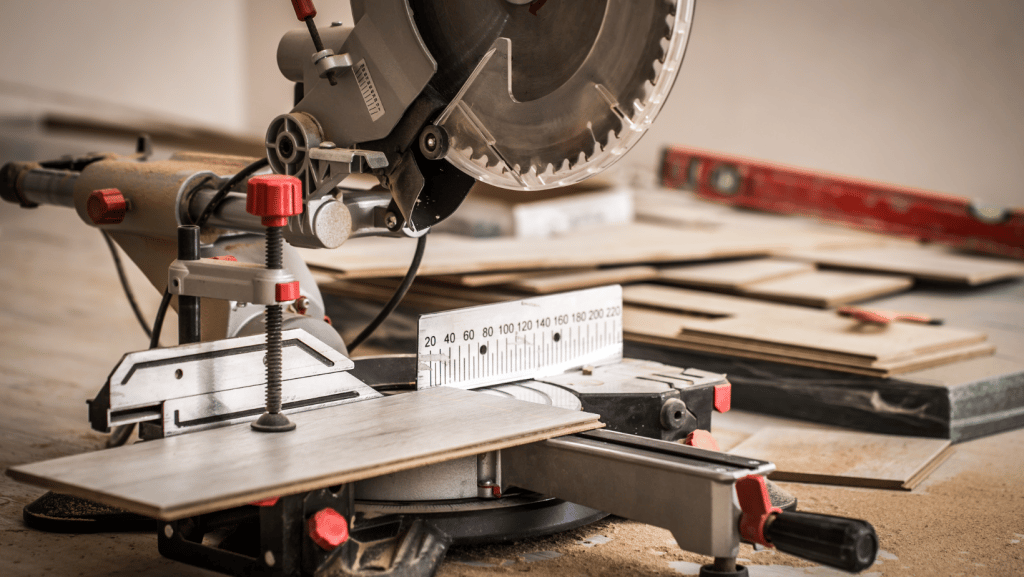
There are so many great portable table saws on the market, and my favourite miter saw right now is the Metabo HPT 10-Inch Miter Saw. This miter saw is ideal for woodworkers, framers, and trim carpenters who seek accuracy, durability, and flexibility.
The 15-amp 10-inch miter saw (C10FCGS) remains the lightest 10-inch compound miter saw in its class, having a large table with a vice clamping system for securely holding your workpiece. One thing it doesn’t have, though, is a saw table.
If you have found your way here, you are probably wondering how to build a portable miter saw table.
A miter saw stand is an essential accessory for all miter saw owners. They help you get the job done, and a proper miter saw table can help prevent woodworking accidents.
But a good saw table can be expensive. Instead of buying one, save money and get a more versatile work table by building your own.

The first step in building a portable miter saw table is considering the materials needed to complete the job.
Choosing your tools and materials carefully now will help you ensure you have everything you need for the job before you start. You will need the following:
- Miter saw
- Circular saw
- Clamps
- Cordless drill
- Drill bit set
- Framing square
- Level
- Safety glasses
- Socket/ratchet set
- Table saw
- Tape measure
- 4′ x 8′ sheet of 3/8″ BC plywood (base, top and back) x1
- 8′-long 2x4s (bottom runners) x2
- 8′-long 1x6s (dividers) x1
- 1 6′-long 1x4s (fence) x2
- Small box of 1-1/4″ screws
- Small box of 1-5/8″ screws
- Wing nuts and acorn nuts to fit mounting holes in the saw.
- Hanger bolts
Measure Your Saw
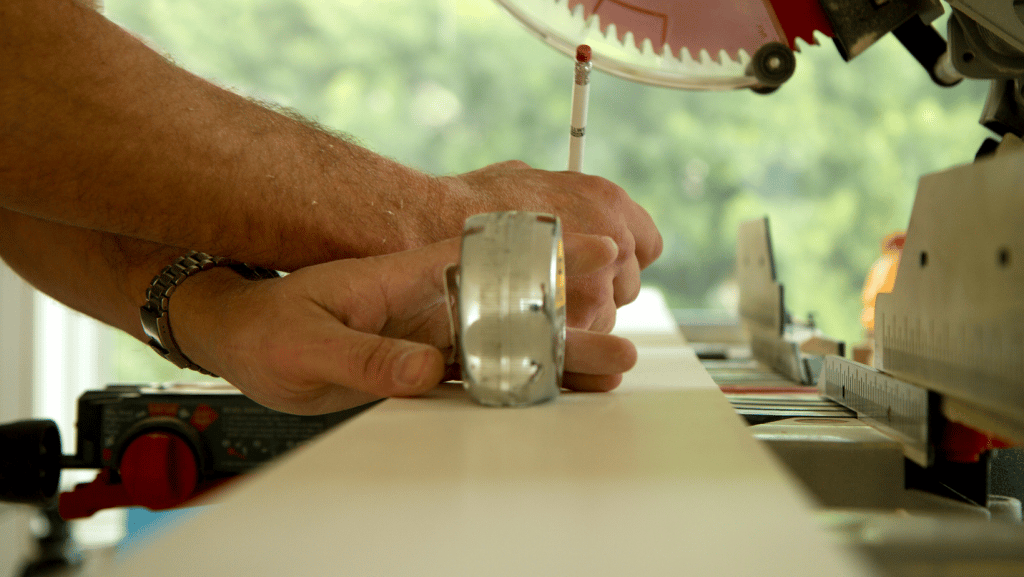
Measure the diameter of your miter saw mounting holes before you begin. You will need to buy hanger bolts with matching wing nuts the same size as the holes for the correct fit.
Similarly, you will need to work out the correct bolt length by measuring the height of the saw table and adding 2-½ inches.
Cut Your Materials

Start by ripping the plywood to a 15-⅝ inch-wide piece for the bottom and a 16-inch-wide strip for the top.
If your table saw isn’t capable of ripping that wide, snap lines and cut the ply with a circular saw. Remember to be as steady as possible here, but do not worry too much about millimeter-perfect cuts! Little variations won’t affect the project.
Hold off cutting the top to length until the dividers are positioned later.
Next, cut the 1x6s into six 15-⅝ inch-long pieces for the dividers and then size them for width by measuring from a scrap of plywood to the saw bed’s surface. Be sure to allow for the top thickness by putting a chunk of ⅜ inch plywood underneath the 1×6 as you mark.
Now rip one of the dividers and place it adjacent to the saw. Check it for height with a straightedge resting on the saw table before you cut the rest.
Assemble The Table

Now you can begin assembling the table by laying out the divider positions. Plan on a 22-inch length for the tabletop on the right side of the saw. Next, size the miter saw bay by looking carefully at your miter saw.
Turn the saw to the right and then the left, planning a wide enough bay to clear all the moving saw parts. The left side of the top will be whatever remains. Then space the middle dividers evenly on the left side.
Screw the dividers to the base, flip over the assembly, and screw the base to the 2×4 runners.
Measure the final height of the table without the top and rip the plywood back pieces to fit, then cut them to size. Screw the back and top to the dividers.
Mount The Miter Saw
This is the part we have been waiting for when we first wondered how to build a portable miter saw table.
Position the saw in the bay and clamp it in place. Drill ⅛ inch-deep holes to mark the hanger bolt positions using a drill bit that is the same diameter as the saw’s mounting holes.
Now remove your saw and drill pilot holes. Now you can drive in the hanger bolts. Be sure to buy hanger bolts that fit the size of the mounting holes.
Use acorn nuts or tighten two nuts against each other at the top of the machine threads to drive in the bolts. Finally, drop the saw over the bolts and lock it with your wing nuts.
Build Fence
Cut two 1x4s to the same length as the left side of your newly built worktop. Use any waste material to cut four triangular braces.
Next, screw the two 1x4s together and evenly space the braces. Now screw them to each 1×4.
Align the fence with a straightedge lined up to the miter saw fence, and screw the fence to each divider. Use 1-⅝ inch screws for the assembly of the fence – trust us!
You are unlikely to need this fence for your new miter saw table all the time. In fact, for everyday cutting jobs, we have found that we hardly use ours.
The fence provides a handy rail for stop blocks when you have to cut many identical parts, but it is common for confident woodworkers to feel more at ease with the fence removed. Boards are rarely straight anyway.
And if you try cutting a long board that’s bowed toward you, the fence will prevent it from fitting tightly against the miter saw fence for a good, square cut.
Occasionally, the fence may prevent you from cutting accurately, especially if any wood has bowed or become misshapen. So, leave the fence off for everyday cutting if you prefer and screw it on when you find you need it.
Our Final Thoughts: How to Make a Portable Miter Saw Table
Now you know how to build a portable miter saw stand.
Following these simple steps, whether you are a professional woodworker or a novice, you can easily make a durable and professional miter saw table.
If you are considering purchasing a new portable table saw, you should check out our buying guide. Our in-depth guide includes a breakdown of all the best saws on the market now!