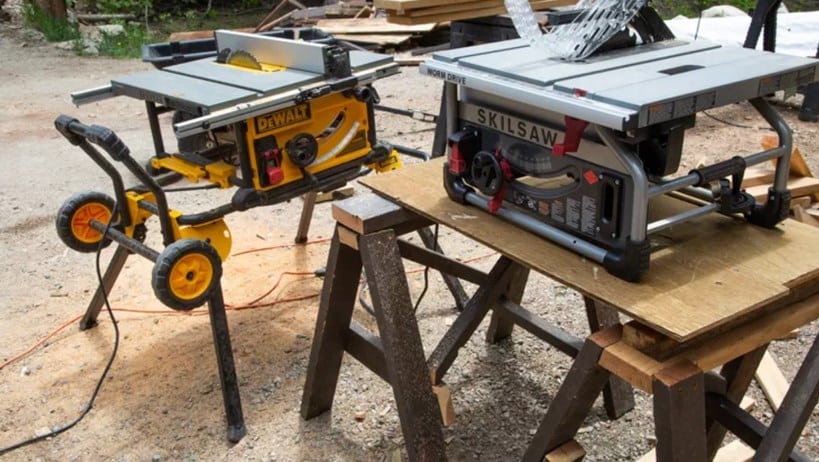
The portable table saw is an indispensable addition to any workshop. And with so many amateurs turning their hand to woodworking projects over the last few years, it is no wonder that the portable table saw has become a fan favourite.
Full-size table saws often come equipped with a built-in platform to help you in supporting your workpiece and ensure a smooth cut. But, because of the size of a table saw, both professional and amateur woodworkers may need more space for the larger models.
With such a vast array of portable table saws on the market, you may have just joined the ranks of budding woodworkers joining the table saw craze. While these portable models are excellent, not all of them come equipped with platforms or stands.
If you have found your way here, you are likely looking to learn How to attach a portable table saw to a bench. Attaching your portable table saw to a bench or stand will increase your workspace and be much safer than using your table saw alone.
New and state-of-the-art safety features such as digital fences, scoring blades and sliding tables, and innovations such as braking technologies and riving knives make working with a portable table saw safer than before.
Still, we always recommend using a stand, bench, or table when working with a portable table saw. And with that said, here is all you need to know about how to attach a table to a portable table saw.
DIY Plywood Base
If you aren’t fortunate enough to have a great deal of space in your workshop or if you don’t have the time to build your own portable table saw stand, there is a handy workaround that we would recommend.
Rather than struggling with how to attach portable table saw to a stand, attach a ¾ inch plywood base with a hole cut in the centre.
This easy-to-make base allows you to screw or clamp your table saw to sawhorses. This will not only provide a broad foundation for added stability, but it will also raise the saw off the ground to a comfortable working height.
Simple and practical, the hole in the bottom of the plywood base allows sawdust to fall through, so your table saw stays running smoothly and doesn’t overheat.
And this handy base is easy to store too! Just drill a couple of ½ inch holes on one side of the base, and attach some hooks to your workshop or garage wall. Store your base when you’re not using it and save valuable space.
How to Build a Plywood Base
- Cut the plywood base a few inches wider and longer than the base of your saw. Then cut a 1 square foot hole in the centre.
- Centre your saw on the plywood and mark the mounting holes. Drill a ⅛ inch hole through the plywood at each mark.
- Flip the piece over and drill 1-inch diameter holes about ¼ inch deep to recess the carriage bolt heads. Next, drill 5/16-inch holes in the centre of the recesses.
- Pound in the carriage bolts, then slip the saw over the bolts (be sure to use spacers if they come with the saw.) Now fasten the saw to the base with washers and nuts.
Our Final Thoughts: How to Attach a Portable Table Saw to a Bench
Now you know how to attach portable table saw to a stand.
Following these simple steps for how to attach a table to a portable table saw means that whether you are a pro or a budding amateur, you can make the most of your portable table saw.
Ready to make your next purchase? If you are considering purchasing a new portable table saw, check out our portable table saw recommendations here. Our in-depth guide includes a breakdown of all the best saws on the market now!

